Creating a view using ViewModels in Magento2

ViewModels are created in order to improve the concept of using Blocks in Magento2. In this tutorial, we are going to discuss how we can use ViewModels in Magento2.
Versions in which we can use ViewModels
We can use ViewModels in Magento 2.2 and greater versions, XSI object to declare ViewModels in xml file is not available in Magento 2.0 and 2.1.
Why use ViewModels instead of Blocks
The concept of ViewModels is introduced to get rid of complex block classes and create separate classes that are easy to maintain. Here we are saying complex block classes because whenever we create a block class it extends \Magento\Framework\View\Element\Template class but if a block class is doing some major functionality we have to use some other dependencies too and we can add those dependencies by overriding the PHP constructor and add your dependencies into it. And whenever we override the constructor we have to pass parent dependencies into the parent constructor too. By doing this we have a lot of dependencies into our class.
<?php
namespace Blog\Management\Block;
class Test extends \Magento\Framework\View\Element\Template
{
public function __construct(
\Magento\Backend\Block\Template\Context $context,
array $data = []
) {
parent::__construct($context, $data);
}
}
Here, we have added $context which is a whole bunch of dependencies which your logic does not need also we need to pass it to the parent constructor.
By doing this our block class gets very complex and we cannot use the only dependencies we need for our logic so that we can use VIewModels.
Use of ViewModels
ViewModels is a concept to make us follow the SOLID principle that is one class one responsibility so that your code does not mess up with multiple dependencies. We can create separate ViewModels with the only required dependencies which we need to render data in the template. ViewModels are easy to render data to templates.
Create View using ViewModel
Step 1:- Create ViewModel
ViewModel is created inside the Vendor\Module\ViewModel directory. In my case it is, Blog\Management\ViewModel\Testviewmodel.php
<?php
namespace Blog\Management\ViewModel;
use Magento\Framework\View\Element\Block\ArgumentInterface;
class Testviewmodel implements ArgumentInterface
{
public function __construct() {
}
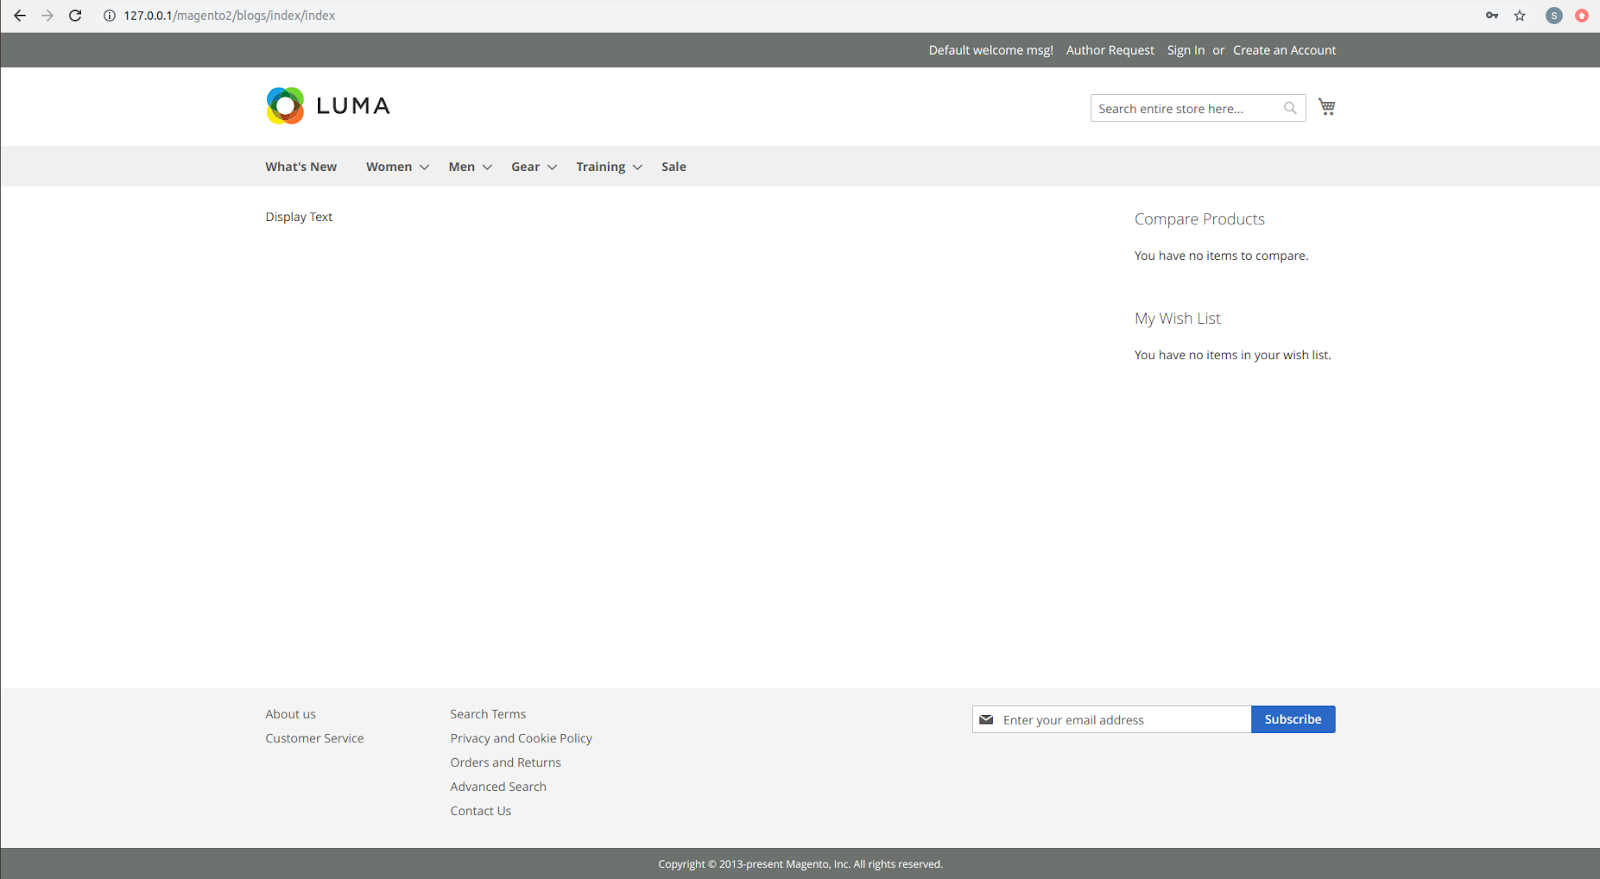
public function getSomething()
{
return "Display Text";
}
}
_constructor in ViewModel only holds those dependencies that are required for our own functionality. For now _constructor is blank here but we can add as we want. Every ViewModel must implement Magento\Framework\View\Element\Block\ArgumentInterface class.
Step 2 :- Create layout XML
Create layout file inside Vendor\Module\view\frontend\layout\routeid_contsollername_actioname.php
This layout file is initialized by the controller pagefactory object.
<?xml version="1.0"?>
<page>
<body>
<referenceContainer name="content">
<block name="example-view-model" class="Magento\Framework\View\Element\Template" template="Blog_Management::display.phtml">
<arguments>
<argument name="view_model" xsi:type="object">Blog\Management\ViewModel\Testviewmodel</argument>
</arguments>
</block>
</referenceContainer>
</body>
</page>
We can use ViewModels using arguments of blocks in an xml file.
Here,
We have created a referenceContainer and block.
Template file is added here as a block template attribute , Naming convention is :- VendorName_ModuleName::filename.phtml.
argument is used to add ViewModel class.
name of the argument is used to get the ViewModel in a phtml file.
Blog\Management\ViewModel\Testviewmodel is ViewModel class file path.
Step 3 :- Create template
Create template file inside Vendor\Module\view\frontend\templates\display.phtml.
<?php
$viewModel = $block->getData('view_model');
$viewModel->getSomeThing(); ?>
Here,
We can get ViewModel using the way we get the value of the argument.
$viewmodel = $block->getData(‘view_model’);
view_model is the name of the argument.
We can call blocks inside a phtml file using $block.
Then we can call the function of ViewModel from which we want to render data to the template.
ViewModel makes our code easy to maintain and understand. We just have to define the ViewModel as an argument of block in xml file and template file as an attribute of block. There these both files connect to each other. We can get the argument value using $block->getdata(); in a phtml file so by this we can get the ViewModel and call the function of ViewModel from which we want to render data in our view template. That’s it. Enjoy.
Comments
Post a Comment