Using ACL in Magento2
 |
In the last blog, we’ve discussed how to create an acl and assign a custom role to a user in order to give access or restrict that user. As Magento allows separate access to different users.
In this part we’ll discuss how we can use acl in Menu, Configurations and Controller.
First we’ll create acl.xml as we have discussed in our last blog:- https://magento2withsakshi.blogspot.com/2020/05/using-acl-magento2.html
Create ACL Rule
etc/acl.xml :-
<?xml version="1.0"?>
<config xmlns:xsi="http://www.w3.org/2001/XMLSchema-instance" xsi:noNamespaceSchemaLocation="urn:magento:framework:Acl/etc/acl.xsd">
<acl>
<resources>
<resource id="Magento_Backend::admin">
<resource id="Custom_Module::menu" title="CustomMenu" sortOrder="10" >
<resource id="Custom_Module::create" title="Create" sortOrder="10" >
</resource>
</resource>
</resource>
</resources>
</acl>
</config>
Now we’ll see how we can restrict our custom menu using ACL rules.
ACL for Menu
Create a custom menu
In menu.xml the resource attribute determines which access this resource of the menu has. We can manage permissions of the resource from role resources in the admin section.
Create menu.xml inside etc/adminhtml folder of your module.
<?xml version="1.0"?>
<config xmlns:xsi="http://www.w3.org/2001/XMLSchema-instance" xsi:noNamespaceSchemaLocation="urn:magento:module:Magento_Backend:etc/menu.xsd">
<menu>
<add id="Custom_Module::menu" title="Custom Menu" module="Custom_Module" sortOrder="10" resource="Custom_Module::menu"/>
<add id="Custom_Module::create" title="Create" module="Custom_Module" sortOrder="10" parent="Custom_Module::menu" action="custom/post/create" resource="Custom_Module::create"/>
</menu>
</config>
Here,
Id is a unique identifier for every menu.
title of the menu which will be displayed in the admin section.
module is a Vendor_Module name of the current module we’re working on.
sortorder decides the position of the menu.
parent is used to define that this menu is nested, add id of the parent menu.
resource defines the resource of the menu as we’ve mentioned in acl.xml as the ACL rule.
Flush cache and check your menu in the admin section.
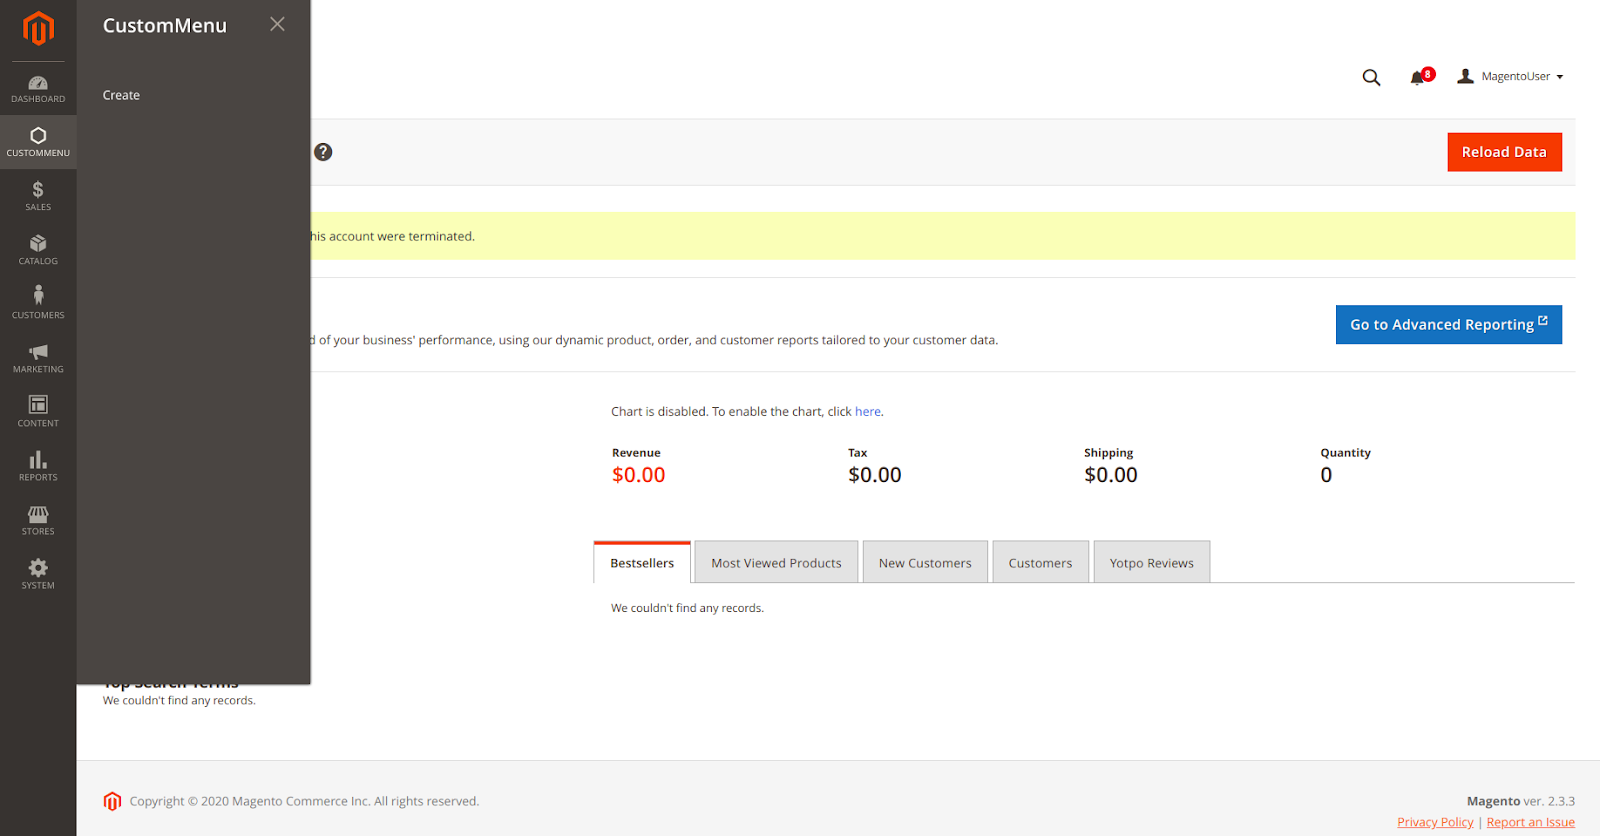
For now this user is able to access this custom menu, we’ve already added the resource of the menu in the acl resource tree.
ACL for Controller
We can also restrict controllers of our module by overriding _isAllowed() method.
This method belongs to \Magento\Framework\App\Action\Action Class which we extend while creating the admin controller.
Override _isAllowed method in your controller,
protected function _isAllowed()
{
return $this->_authorization->isAllowed(Custom_Module::create');
}
Here Custom_Module::create is a resource which we have to mention in our acl.xml.
By default if we don’t override isAllowed() method then it returns true. Magento saves role resources in the admin_role table with permissions deny/allow. If we are not saving any new rule it returns true so we have to save a new rule after creating the one.
ACL for System Configuration
We can add ACL rules in the configuration section to hide any configuration from other users.
Add resource tag in section tag to add acl rule in your configurations.
<resource>Custom_Module::configuration</resource>
Just in case you’ve missed reading other blogs:- https://magento2withsakshi.blogspot.com/
Comments
Post a Comment